I have had a few requests both in the comments of the “Get Your Mac Ready for Mountain Lion” and via email. Here is a tutorial on how to create a USB Mountain Lion Installer key so that you can install it a lot faster on the other Macs that are associated with your Apple ID.

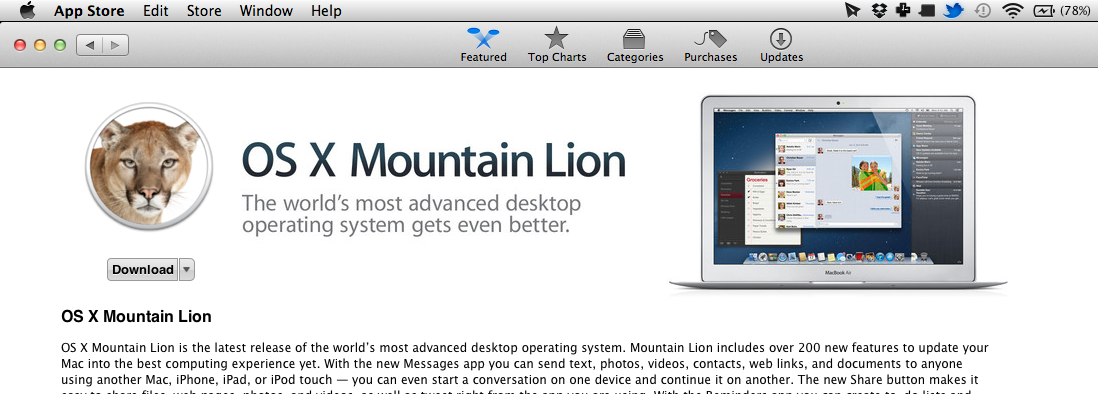
1) Go to the Mac App Store and download Mountain Lion for $19.99. After it has finished downloading, DO NOT continue following the dialogs to install Mountain Lion.
2) Open up Finder and navigate to your Applications and find the Install OS X Mountain Lion.app. Right click on it and select “Show Package Contents” Here is a screenshot:

3) After that, navigate to Contents > SharedSupport and find the InstallESD.dmg. That is the file that you are looking for. Copy this to a new location such as your Desktop so we can easily copy this onto a USB key.
4) Now for the disk imaging part. Open up Disk Utility and drag the InstallESD.dmg from your Desktop to Disk Utility in the left hand side bar. Here’s a screenshot:

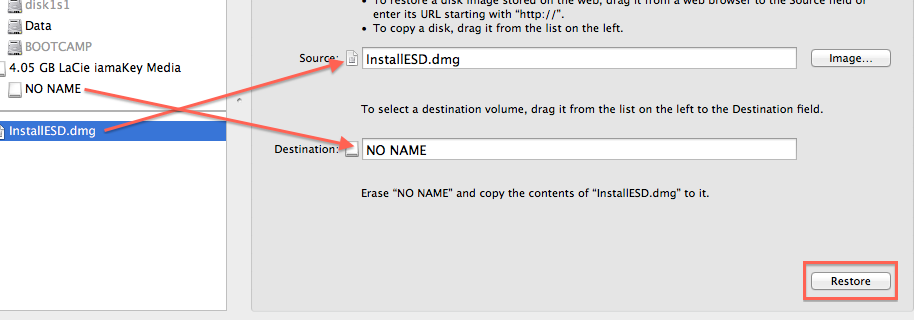
5) After that, click on the InstallESD.dmg in the left sidebar, click the Restore tab and then follow the diagram above to drag the correct items into the correct fields. For me, the NO NAME USB key is the one that I am using for my install. (However, that was just for an example, you need at least an 8GB USB key).
6) Now, click Restore in the bottom right corner and there you go! You now have a USB Mountain Lion installer key.
If you have any questions, please post in the comments below. I will be sure to help you out as soon as possible!
